Drilling is a fundamental task in many DIY projects including shelving. However, even experienced DIYers can make mistakes. Here we will explore the most common drilling mistakes and provide you with practical solutions to fix them, ensuring successful outcomes for your drilling endeavors.

Common drilling mistakes
-
Choosing the Wrong Drill Bit: One of the most common mistakes is using the wrong type or size of drill bit for the material being drilled. Using a bit that is too big may result in a loose or wobbly hole, while using a bit that is too small can damage the material or cause excessive vibrations. Always ensure you select the appropriate drill bit based on the material and the desired hole size.
- Failure to Mark the Drilling Spot: Failing to mark the drilling spot accurately can lead to misplaced holes, unevenly spaced installations, or damage to hidden electrical wires or plumbing. To avoid this mistake, use a pencil or a marker to clearly mark the drilling spot. Double-check your measurements and use a spirit level to ensure precise alignment.
- Lack of Proper Support: Insufficient support behind the material being drilled can cause tear-outs or splintering, especially when drilling pilot holes in materials not yet fixed to the wall. We recommend, placing a scrap piece of wood or a backing board behind the surface you're drilling into. This protects the surface below where your are drilling while providing stability and prevents damage, ensuring clean and professional-looking holes.
- Incorrect Drilling Speed and Pressure: Drilling at the wrong speed or applying excessive pressure can lead to overheating, burned-out drill bits, or a lack of control. That's why you should start drilling at a slow speed and gradually increase the speed as needed. Use a steady, moderate amount of pressure and let the drill bit do the work. If the drill starts to bog down or smoke, ease off the pressure and reduce the speed to prevent further damage.
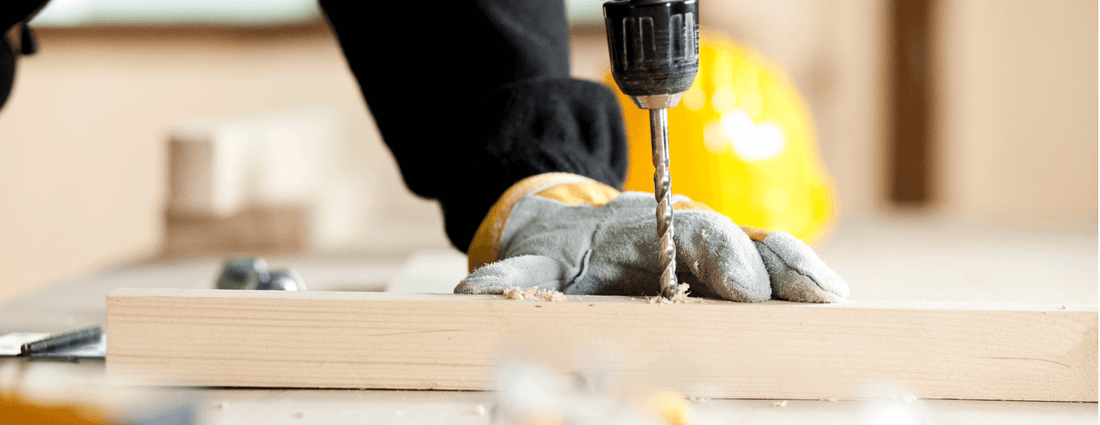
- Not using safety precautions: Neglecting safety precautions is a significant drilling mistake that can result in serious injuries. Always wear protective gear, such as safety goggles, gloves, and ear protection, to safeguard yourself from flying debris, loud noises, and potential accidents.
- Not checking your surroundings: Use a stud finder or wall scanner especially when drilling near electrical wires or plumbing pipes.
- The bit is off-center and between two teeth. This is a very easy mistake to make with smaller bits. The bit will wobble, and you may mistakenly think that the bit is bent. You need to make sure that the bit is in the very center and touching all three teeth in the chuck.
- Not keeping the drill bit straight when drilling. Drilling at a slight angle can cause difficulty in getting the wall plug to fit. Keep the drill bit at a 90 degree angle to the surface you are drilling into.

Filler is your friend
Almost all drilling mistakes can be repaired with some filler (we use Polyfiller) - we have repaired our fair share of mistakes in developing our kits! Once repaired it’s like it never happened. Here are a few steps to take if you have a repair to make in the plaster.- Use a filling knife to knock out any loose debris. Vacuum away any bits or dust and then clean the hole with clean cloth or sponge. It's important to have a clean surface to ensure proper adhesion
- Apply the Polyfiller by taking a small amount of filler onto a filling knife. Press the filler into the hole, filling it completely. Use the filling knife to smooth, making it flush with the wall. Remove any excess compound. Don’t worry if it’s not perfect you can fix that later.
- Let the filler dry completely. The drying time can vary depending on the product used, so refer to the manufacturer's instructions.
- Sand the Patched Area Once the compound is dry, use medium-grit sandpaper to gently sand the patched area. This will smooth out any rough edges or unevenness. Be careful not to sand too aggressively, as this may damage the surrounding wall.
- Check that the surface is level. If you see dints or areas lower than the surface of the wall, reapply filler like in step 2-4.
- One you are happy with the finish wipe away any sanding dust with a clean cloth or sponge. Then, apply a coat of primer to the patched area. This will help the paint adhere evenly and ensure a seamless finish. Follow the manufacturer's instructions for drying time.
- Once the primer is dry using a paintbrush or roller, apply paint that matches the color of the wall to the patched area. Feather the paint outwards from the patch to blend it with the surrounding wall. Allow the paint to dry according to the manufacturer's instructions.
- Once the paint has dried, inspect the repaired area. If necessary, apply an additional coat of paint to achieve a uniform finish.

Drilling mistakes can happen to anyone, but with the right knowledge and corrective measures, you can avoid them and achieve professional results. By choosing the correct drill bit, marking the drilling spot accurately, providing proper support, using the appropriate drilling speed and pressure, and prioritizing safety, you'll be well-equipped to handle various drilling tasks with confidence. Remember, practice makes perfect, so keep refining your drilling skills. Mistake make you a better DIYer and there's almost nothing a bit of filler can’t fix!
Happy drilling!