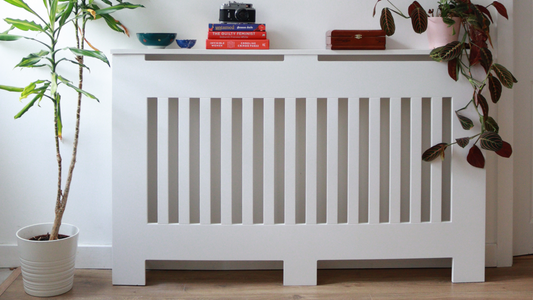
A power drill is an essential tool that every homeowner or renter should have on hand, regardless of their DIY skills. It can make a significant difference in everyday home tasks, from hanging a mirror securely to assembling furniture quickly. To help you understand power drills and how to use them safely, here is more information on buying your first drill, the basics of a power drill and how to use it.
Buying your first drill
If you're a first-time power drill user, we recommend buying a cordless model instead of a corded one. There's really no need to use a plug-in drill as a good rechargeable cordless drill will perform just as well and offer you the freedom to use it anywhere. If you anticipate using the drill for long periods, it's a good idea to have an extra battery pack on hand for easy swapping.
The basics of a power drill
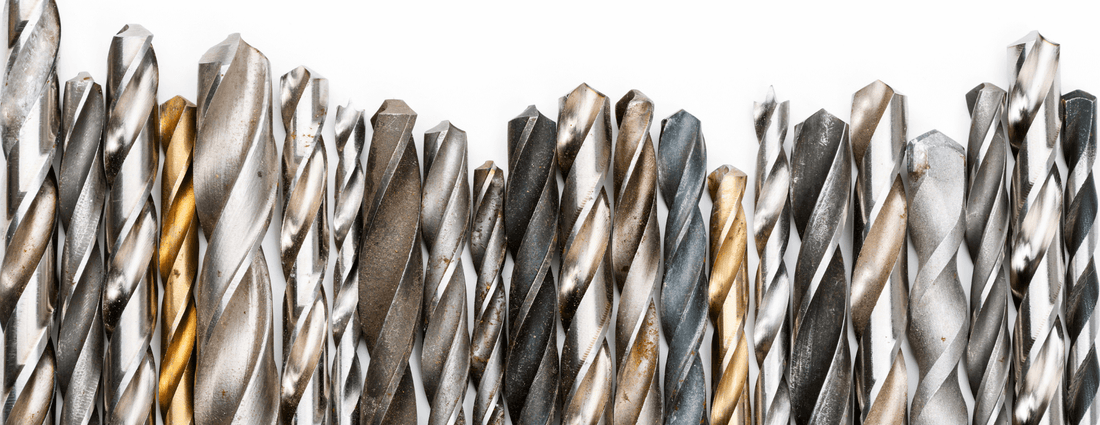
Now, let's cover the basics of a power drill. Your drill should come with a rechargeable battery, a plug-in charger, and, of course, the drill itself. A kit with a selection of basic drill bits for making holes and driver bits for screwing and unscrewing screws should be sufficient for most household tasks.

When it comes to the drill bits, here's a breakdown of their uses:
- Drill bit: This type of bit is used for drilling holes in materials like wood, drywall, and plaster.
- Driver bit: As the name suggests, it is used for driving screws into hard materials.

Additionally, you may come across a few other accessories related to power drills:
- Drive guide: It's a tube-shaped attachment that holds long screws in place and keeps them straight while driving.
- Insert bit: This bit is used for attaching driver bits.
Now, we'll go over the controls of a power drill:
- Chuck: This is where you insert the drill bit. To open or close the chuck, hold the hand grip and press the trigger switch.
- Trigger switch: Simply hold it down to start the drill.
- Torque control: You can adjust this to change the drilling power or torque. Most drills have a separate drill setting specifically for drilling holes. It's important not to use this setting for driving screws, as it could strip the screw heads.
- Gear switch: It allows you to change the drill speed. Lower gears are typically used for driving light screws, while higher gears are suitable for drilling holes or driving larger screws.
- Reverse switch: This switch changes the direction of drilling—regular (clockwise) or reverse (counter-clockwise). When the switch is in the middle or safety position, the drill will not turn at all.
- Battery: The battery powers the drill and can be recharged using the plug-in charger.

Using a power drill
Her are some tips and tricks:
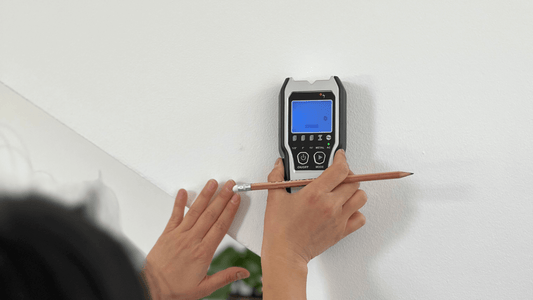
- If you're unsure about the size of the drill bit to use for an anchor or wall plug, check the wall plug's packaging. It usually recommends the correct drill bit size. If you're unsure, it's better to start with a smaller drill bit size and then size up if necessary.
- When driving a screw into a wall plug, go slowly and use a low to middle setting to ensure the wall plug doesn't split.
- When screwing something into wood, it's helpful to drill a pilot hole first. A pilot hole is a smaller hole. This makes it easier to drive in the screw.
- When hanging a hook or any other item, hold it against the wall and use the drill to lightly mark where the screws will go. Then, drill a guide hole for accurate placement.
- For your safety, we recommend to use safety goggles and a dust mask.
It takes some practice so the best way to learn it is by doing. Remember, practice, makes perfect, always with caution and safety.