In this blog we provide you with two methods of how to panel around a plug socket for a seamless finish. The first method we actually coin the Cheat's method because it's SO easy.
The second method is the Pro method because the overall effect is slightly more professional but it does require you to own and understand a hacksaw... so it's also a bit more complex.
We figured that most Roomix'ers will be satisfied with the Cheat's method so we'll dive into that one first.
The Cheat's Method
Safety is always first, make sure the plug sockets are off before starting to work around them.
Cut three smaller strips so that they frame the socket.
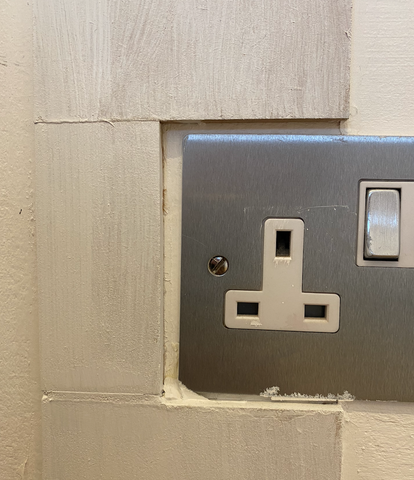
Apply filler to the seam where each of the three pieces of wood join. Let the wood filler dry before sanding it right down. Then apply a coat of primer over the top.
Once you have completed this it should appear as one smooth piece of wood.
Simples!
The Pro Method
Step 1
Safety is always first, make sure the plug sockets are off before starting to work around them.
Step 2
Measure the distance from the skirting to the bottom of the socket.

Step 3
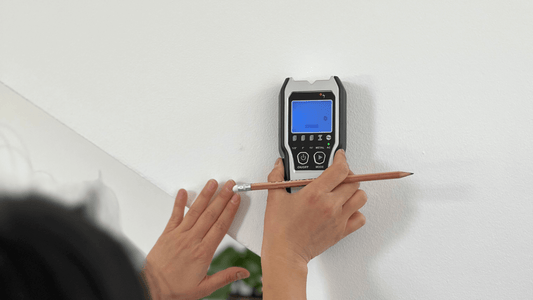
Lay the MDF over the top of the socket and mark in pencil where the MDF meets each side of the socket.

Step 4
Take the MDF off the wall and lie it flat on the floor with the pencil marks facing up. Then use a straight edge to continue you marks down the panel.
Using the measurement from Step 2, measure up from the bottom on the panel and mark with a pencil. Use a spirit level to draw a straight line across that measurement so you get a H shape.
Step 5
Optional: Use a drill and a large drill bit to drill holes in the corners of the cut out (pink circles on the diagram below). This will help with sawing them out.
Use a hacksaw to cut out the section for the socket.

Step 6
Place your panel on the wall to check the fit. Use sandpaper for small adjustments or the hacksaw for bigger ones until you get a snug fit.
Don't worry about any gaps, you can decorators caulk to fill them as per your kit how to guide to get a straight finish.