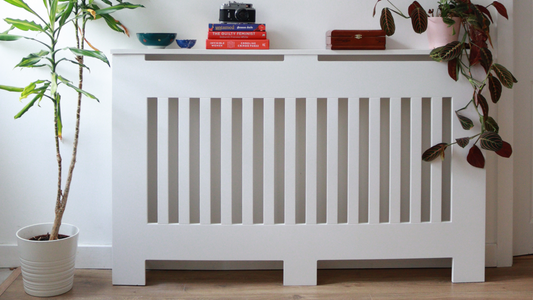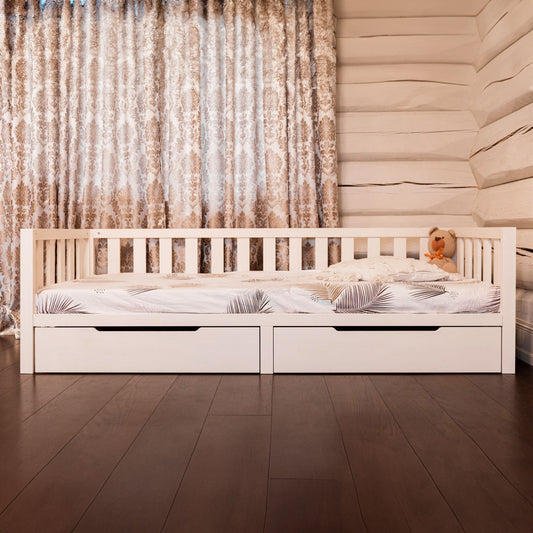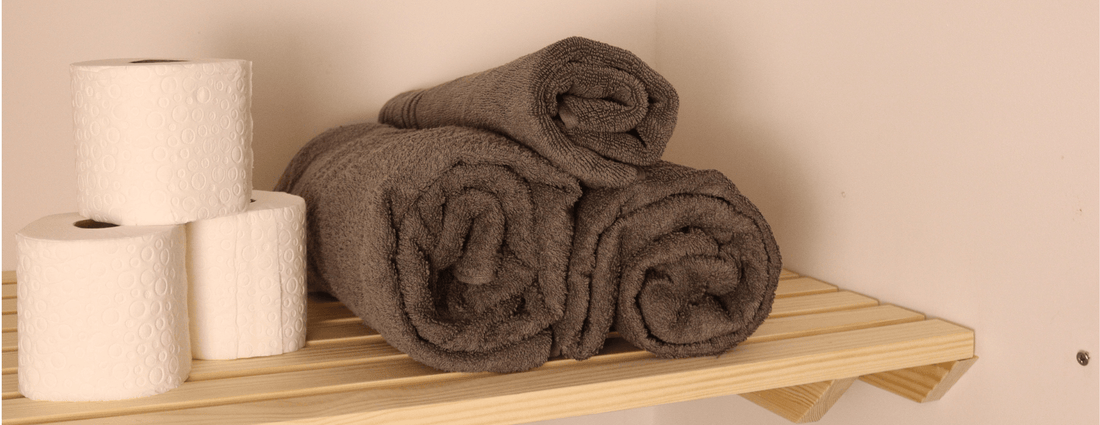
If you have an underutilised pantry, a utility room or just a cupboard, the airing cupboard shelving is a great way to declutter and create a functional and efficient storage solution.
In this step-by-step guide, we'll walk you through the process so you can easily install airing cupboard shelves, from measuring the space to choosing the right fixings, we’re covering everything you need to consider as you transform your space.
Before you start, here’s a checklist with all the materials and tools you’ll need.
Your checklist

Essential Materials
- Airing cupboard shelf
- Two pre-drilled wooden batons per shelf placed at the sides of your cupboard
- One pre-drilled wooden baton per shelf placed at the back cupboard (for shelves 120cm or longer)
- Wall Plugs 8mm
- 4 or 8 Screws per shelf to attach the batons to the wall, number of screws will depend on the size of your shelf and the number of batons
- Masking tape
- Pencil

Implementation Tools
- Drill
- 8mm masonry drill bit for your wall
- Cross-head screwdriver drill bit or a screwdriver
- Safety goggles
- Dust mask
- Spirit level
- Tape measure
- Stud and electric wires wall scanner
- Dust sheet
- Pin Hammer
Step 1: Positioning your shelves
Begin by deciding where you want your shelves to be.
-
Pick up your shelf and try positioning on the wall. If it’s too heavy make sure to ask a mate or a family member for some help.
-
Mark the position of the shelf with a pencil or masking tape.

CAUTION & SAFETY: Before you finalise the placement of your shelf, it’s important to check any live electrical wire or pipes, using a wall scanner. Also check if there are any plug sockets located on the wall. Note if your shelf is shorter than 120cm, you’ll only be attaching the batons to the side walls.
-
Adjust your shelf’s position if necessary
** If you have a stud wall, it is generally recommended to drill through and attach your shelf to the stud for additional support. However, we know that trying to locate the studs can be impractical. In this particular shelving design, the weight will be widely distributed as it’s supported at more than one side. The universal wall plugs included in your Roomix kit will also provide extra security for your project.

Step 2: Marking your frame
-
Grab one of the short wooden batons, your spirit level and pencil
-
Place the wooden baton on the wall in the position you decided to install the shelf, keeping the spirit level on its bottom side. Make any adjustments to make sure the wooden baton is level.
-
Use to the top of the wooden baton as a guide and mark the position of the shelf with a pencil

If your shelf is 120 cm or longer:
-
Continue marking your frame by moving the wooden button with the spirit level across all the three sides of your cupboard
If your shelf is smaller than 120cm:
-
To ensure the shelf is level and wooden batons are placed in the same height at both the right and left hand side of the wall, measure the distance from the ceiling to the position you’ve marked. Make a note. Move to the left hand side of the cupboard and measure the same distance from the ceiling. Make a mark. This is the position for your other wooden baton.
-
Grab your wooden baton and spirit level and draw a line starting from the point you marked.
Next you’ll mark the drilling holes to the wall
-
Get all your wooden batons and insert the screws to the pre-drilled holes
-
Place the wooden baton on the wall to the position you’ve marked and using the tip of the screw mark your drilling hole.
Step 3: Drilling your wall & fixing your frame
-
Get your drill and insert the 8mm masonry drill bit
-
Put one of the wall plugs next to the drill bit, tip down. Then get a small piece of masking tape and wrap it around the drill bit where the wall plug ends. This will act as a guide as to how deep to drill into the wall
-
Drill a hole in the wall where you have previously marked, pushing quite firmly. Stop when you get to the masking tape
-
Use a dry brush to get rid of any dust then insert the wall plug. Use a hammer to gently knock it flush into the wall
-
Repeat the last two steps for all remaining drilling holes.
Step 4: Finishing it off
You’re almost there!

-
Grab the screws and all your wooden buttons
-
Put your cross head screw bit on the drill or grab your screwdriver
-
Drive the screws through all the pilot holes into the wall plugs until the batons are fixed in position.
-
Take your airing cupboard shelf and slide it through the wooden batons
Congratulations, you’ve installed your shelf! Now you can start organising all your items.
With these steps, you'll have created new storage space in no time. Don't rush the process, take some breaks if you need and if you feel unsure about a step, we’re here to help out. Just reach out to us.