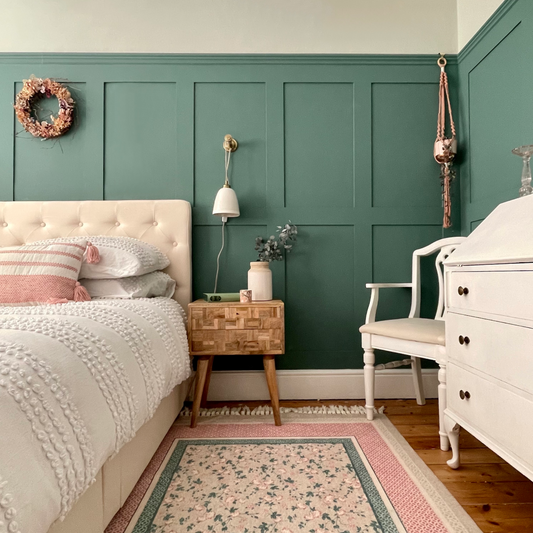
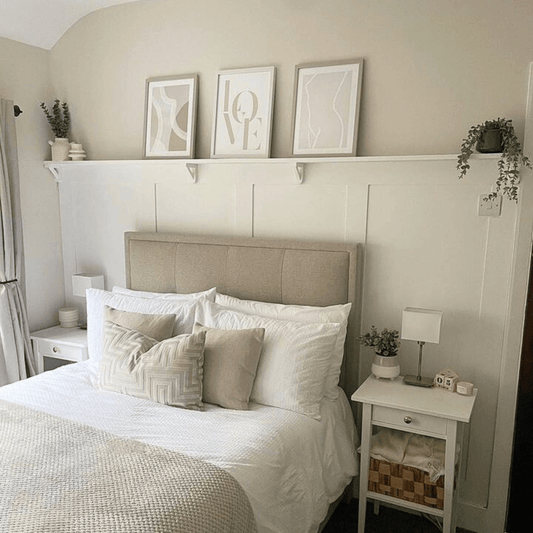
Your bedroom is your sanctuary. It's where you spend a peaceful time after a long day. So why not make it your haven?
It is important to note that a cluttered space can do nothing but keep you from ever finding that peace. It's time to change all that with this step-by-step guide on upcycling your Ikea malm dresser!
The idea is simple. Instead of buying new furniture, you can take that old dresser or wardrobe and transform it into a piece you'll love using simple DIY hacks.
The good thing when incorporating an Ikea upcycle is that you don't have to break the bank for a new furniture set. It's affordable, and you can have your bedroom look like a dream in no time.
Because we love you and believe upcycling is the way to go, we've provided instructions to remodel the old piece at home.
Materials and Tools Needed For the Project
- An old Ikea Malm chest of drawers
- Paint (Your Choice)
- Decorative pine reeded angle molding
- Paint brushes
- Sanding Block
- Wood Glue
- White multi-surface primer
- Caulk (for the inside corners)
- Staple gun/nails & hammer/screwdriver
- Rubber Mallet/Pneumatic stapler
- Marker
Step 1: Prep the Surface
First things first: Before starting, strip the piece down to its bare frame.
- Choose a flat work area so you can flip the dresser upside down.
- After removing the back panels and drawers, sand down any rough spots on the surface.
Make sure you cover any surrounding areas with a drop cloth.
Step 2: Paint the Dresser
Lay out two coats of the paint of your choice – try to match the color to your existing décor. This will give you a smooth, even finish to work with.
The first coat should ideally be a primer for the best results. Once it is dry, give your dresser another coat of paint – or even two, if you desire.
Step 3: Start Mounting the Angle Moulding
The angle moulding will serve as the "finishing touch" for the piece and give it that complete look. To start;
- Acquire some pine reeded angle moulding. The length should correspond to the length of your dresser.
- Measure and mark a 45-degree angle at each corner, and ensure you only cut the ends. Try to keep the base intact.
- Now, grab your wood glue and a glue gun. You'll want your moulding to be secure before you start next step.
Once the glue has set through, start clenching off each piece by hand. Work in small sections simultaneously and make sure they are pressed well together.
Step 4: The Malm Drawers
The smaller drawers are excellent to leave in their original state, but the larger ones need a bit of work before they're ready to be added to the new dresser.
- Start by taking the handles off – and if you don't plan on using them, it's better to remove the hardware on all the drawers.
- Next, drill out the screw holes and adjust the drawers. Before you do this, ensure you don't drill all the way through.
- Then, use a bit that is just a little bit bigger than your screws.
- You may have to "lop off" some wood on the drawer's face, but it won't take too long.
- Once you've done this, you're ready to add the moulding.
Step 5: The Final Touches
All you have left at this point is to hang the drawers back in their original place. Since you've already made sure they're lined up, it'll be more manageable.
Secure the drawers and ensure they're flush with the rest of the piece.
Get Started With Roomix Today!
Upcycling is a great way to breathe new life into your belongings. At Roomix, we offer effective project kits for all your DIY projects, whichever project you decide to take on, we're here to help!