Are you looking for a way to add some extra storage space to your home without spending a lot of money? If so, then you should consider building your own built-in shelves!
This is a great DIY project that can be completed in just a few hours. In this blog post, we will outline the steps needed to complete this project. We will also provide a list of the tools and materials that you will need. Let's get started!
Step 1: Measure the space
The first step is to measure the space where you will be installing the shelves. You will need to know the width, depth, and height of the area. Once you have these measurements, you can determine how many shelves you will need and what size they should be.
Step 2: Gather your materials
Next, you will need to gather your materials. For this project, you will need:
- Pine strip wood
- MDF boards
- A saw
- A drill
- Screws
- Brackets (optional)
- A level
- A tape measure
- Wall plugs
- Wood glue
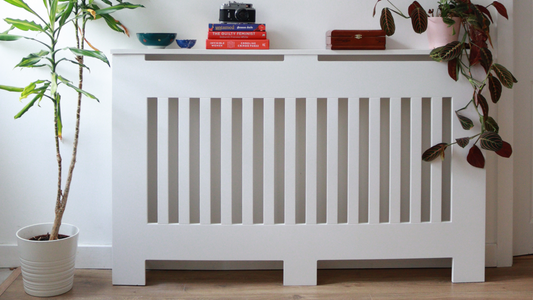
Step 3: Build your frame
Your first step will be to create a frame for your MDF board to sit on.
- Use the measurements you collected earlier to cut your pine strips to size.
- Glue and screw them together to create a rectangle.
- Wipe away any excess glue and leave it to dry.
Step 4: Cut and attach your shelves
Now it's time to cut your MDF boards into shelves.
- Use a saw to cut the boards to size and then sand them down, so they're smooth.
- Once cut, glue your MDF topper to your shelf frame.
- Put some weight on top of it (a couple of large books will do), clean off any residual glue, and let it dry.
Step 5: Attach your shelves
Once you have all of your shelves cut, it's time to start attaching them to the wall.
- If you're using brackets, now is the time to attach them. If not, you can just screw the shelves directly into the wall.
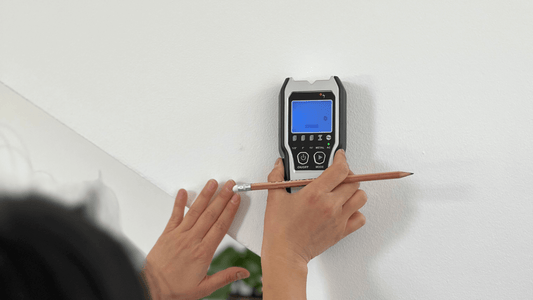
- Use a stud finder to locate the studs in your wall, and then use screws to attach your built-in shelves to the wall.
- If you have concrete, brick, or fiberboard walls, you will need wall plugs to screw the shelves in.
- If not, just use screws that are long enough to go through the thickness of your shelves and into the studs in your walls.
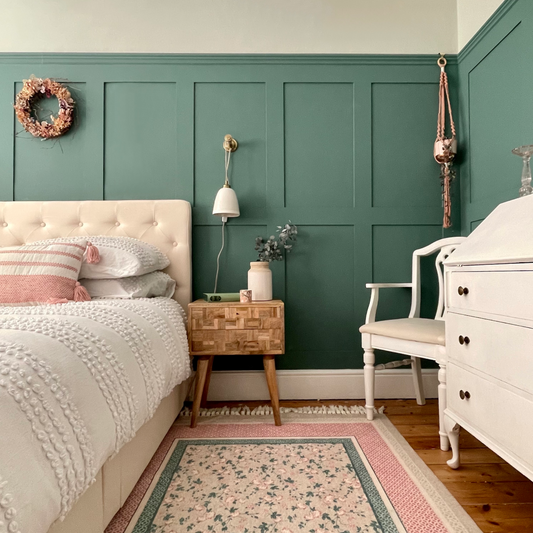
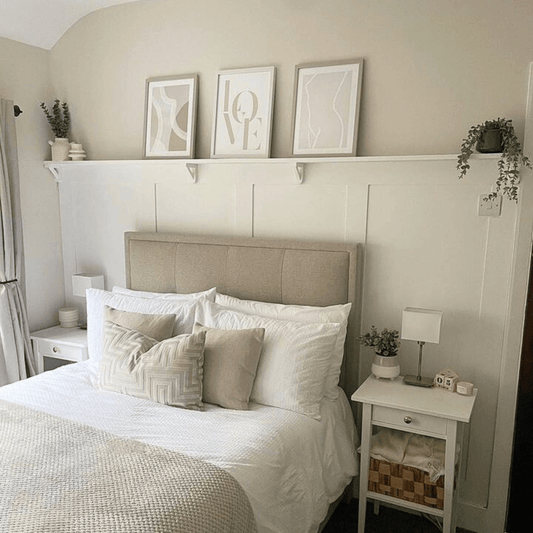
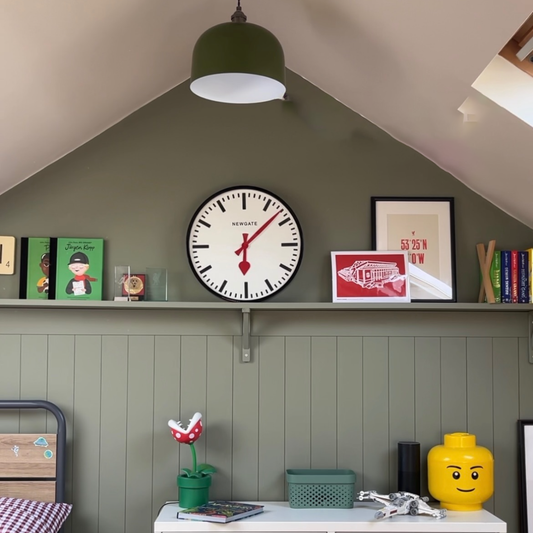
Step 6: Add your decor!
Now that your built-in shelves are complete, it's time to start decorating them! Get creative and have fun adding personal touches to your new shelving unit.
Easy and fun
So there you have it, built-in shelves that are both easy and fun to make! With just a few supplies and some simple instructions, anyone can create beautiful built-in shelving for their home.
What are you waiting for? Give it a try today!