Intro
Okay… I think it’s safe to say we’re big wall panelling fans here at Roomix. We’d panel the stairs, the bedroom, the hallways… probably the kitchen sink if we could! *Disclaimer - we truly don’t advise that you panel your sink, highly impractical for doing the dishes!
One of our most favourite places for a bit of added wall panelling panache is - maybe surprisingly to some - the bathroom.
---The texture of the wood panels goes beautifully with the other bathroom material staples like ceramic, metal and tile. Wood panelling can be an ideal wrapping for an ugly bath base.
---
Why we love bathroom panelling
And - we’re not sure how to describe it - but the way wall panelling brings to mind a nautical cottage or beach shack - is just the perfect design vibe for the bathroom. Maybe it’s because of the watery connection?! We’re not sure - but anyway, we digress.
Finally, there is the matter of cost. Panels are much cheaper than tiles to buy, install and, should anything go wrong, replace.
Bathroom panelling challenges
This bathroom is, of course, one of our most used spaces but is also often one that gets a bit neglected. It can be intimidating to take on bathroom projects. Anything large scale involves a plumbing qualification and no one wants to mess with something that might require a plumber to come out and fix. The high temperatures and humidity of bathrooms also mean that it is extra important that the right materials are used for anything decorative.
 High temperatures and humidity make it extra important that the right materials are used for bathroom panelling
Bathroom panelling might be right for you
Bathroom wall panelling can actually be a fantastic way to give a bathroom a new lease of life - with fairly minimal effort. Wall panelling also happens to be a great DIY project for a beginner. This is because wall panelling projects involve learning a number of core DIY skills that will come in handy forever more. Each simple wall paneling project requires everything from measuring up, sawing, caulking and decorating, and many more on top of that - skills which crop up across the DIY project spectrum.

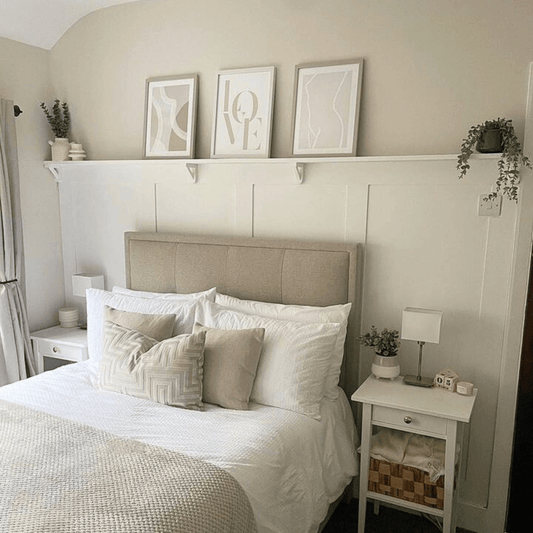
Shiplap, side by side MDF slats, often painted in white, leave a crisp and finished, yet homely bathroom feel
Popular bathroom panelling designs
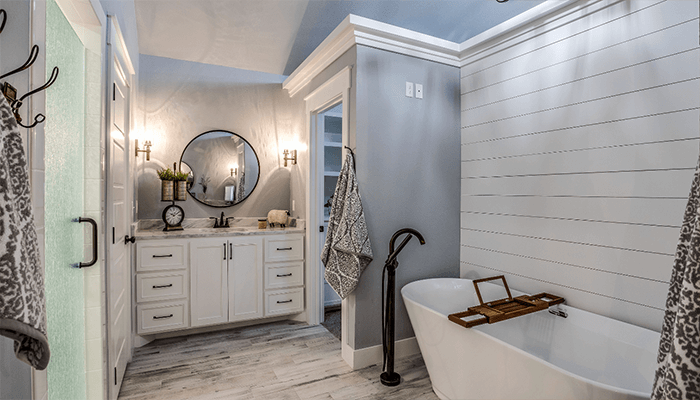
The most popular design for panels in the bathroom is Shiplap (sometimes referred to as tongue and groove paneling). The side by side MDF slats, often painted in white, leave a crisp and finished, yet homely bathroom feel. Again, the pattern offering up beach huts & nautical vibes aplenty! Importantly, as there are no panel gaps in the Shiplap pattern, they also act as a great way to provide full coverage for an ugly, outdated bath or section of wall.

Shiplap horizontal creates beach hut & nautical vibes aplenty
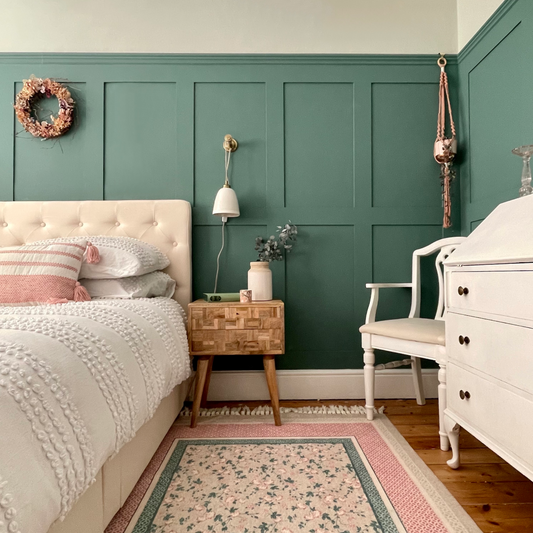
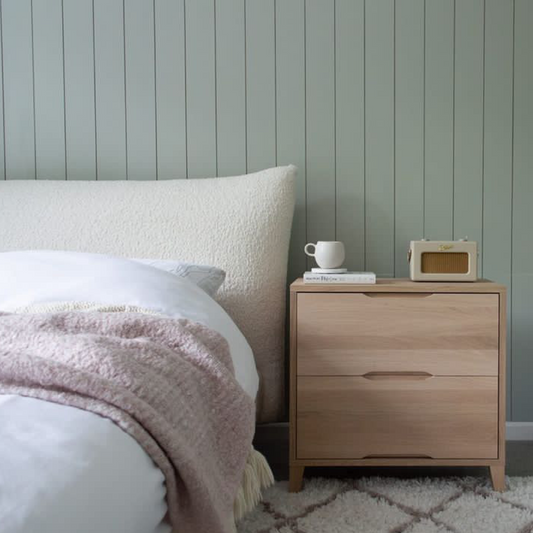
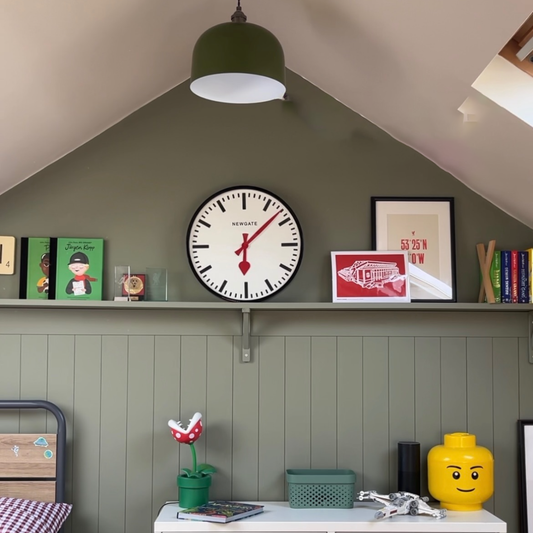
The other design often used to add a luxurious touch of class to a bathroom is Shaker. We love a half wall shaker with a small, boxy top trim ideal for balancing a candle or - dare we say - glass of wine. Okay - we dare! For this panel design we are imagining a rich navy blue or dark green to act in rich contract to the white of the bath and shower and creating a real zone of relaxation.
Top tips for bathroom panelling
In most respects the process for wall panelling the bathroom is similar to wall panelling other rooms in the house, but there are a few bathroom-specific things to bare in mind:
Check you are using moisture resistant MDF
Of course, being the bathroom the panels are going to be at the mercy of humidity in the air and the odd splash from the shower. All of our MDF strips in the Roomix kits use moisture-resistant MDF so the easiest way to ensure this is to simply buy a kit from us!
Check you are using moisture resistant paint
Some paints work in rooms with high humidity, others don’t! It is super important to check that the paint brand you are using is compatible for kitchens and bathrooms. You guessed it - Roomix paints are bathroom compatible so you don’t need to worry 🥳
Cut your wood strips outside of the bathroom
Wall Panelling involves a lot of sawing. It can help to have a bit of extra room to maneuver long strips while you’re cutting so we recommend laying down the ground sheets in another room and cutting with a bit more space. Unless you have a mega huge bathroom - in which case, we are jel!
Clean the walls well before you start
In other rooms you might get away with a light dusting but soap scum can wreak havoc on a good paint job.
Before painting the panels, cover over everything!
Tape off the ceiling, trim, bathtub surround, backsplash, and other areas that will not be painted. Drape ground sheets over the sink, any mirrors and, of course, the flooring.
---
If you’re struggling to know where to begin with your bathroom wall panels you should consider a Roomix wall panelling kit. We give you all the materials and tools you need, plus a super-simple step by step guide.
---
We can’t wait to see your beautiful bathroom panelling creations!